SERGIO BELOTTI · BELT INSTRUCTIONS
How to shorten a leather belt for a better fit
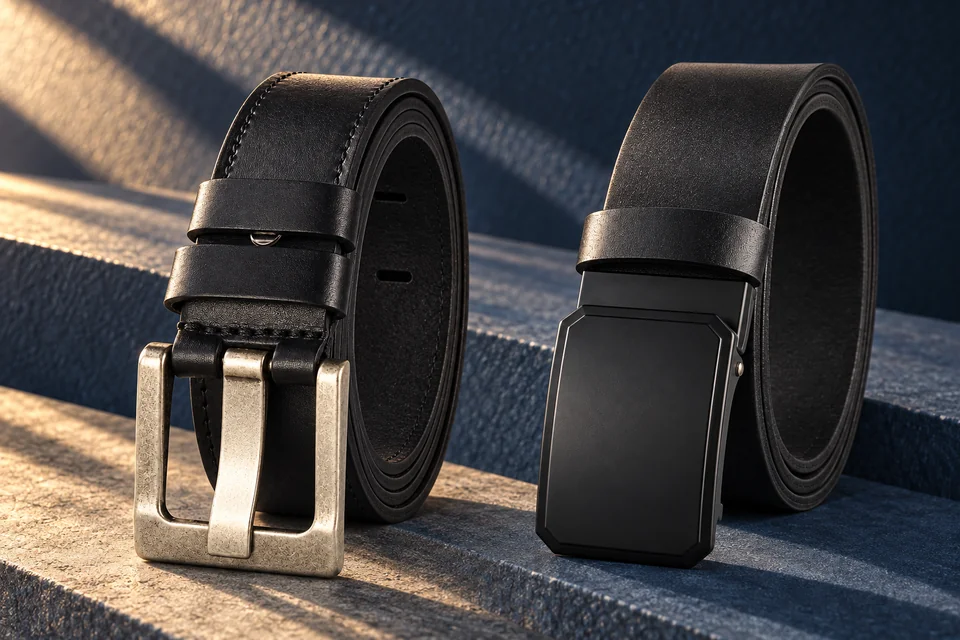
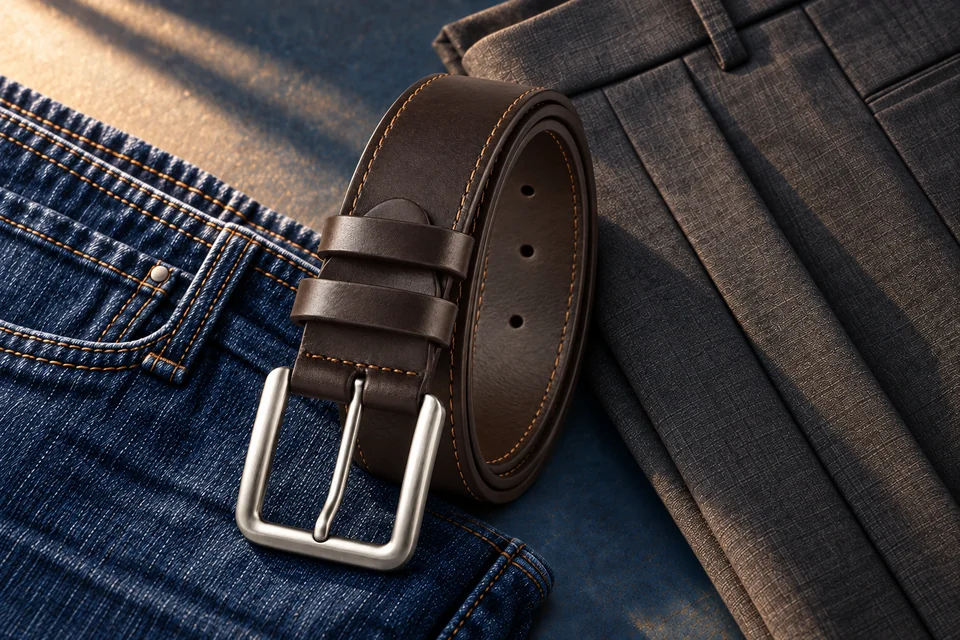
A good fit starts with the right length. These two step-by-step instructions come from Sergio Belotti product cards: one for a screw attachment and one for an opening clamp. Both shorten the strap at the buckle end, preserving the shaped tip.
Updated
Shop belts from this guide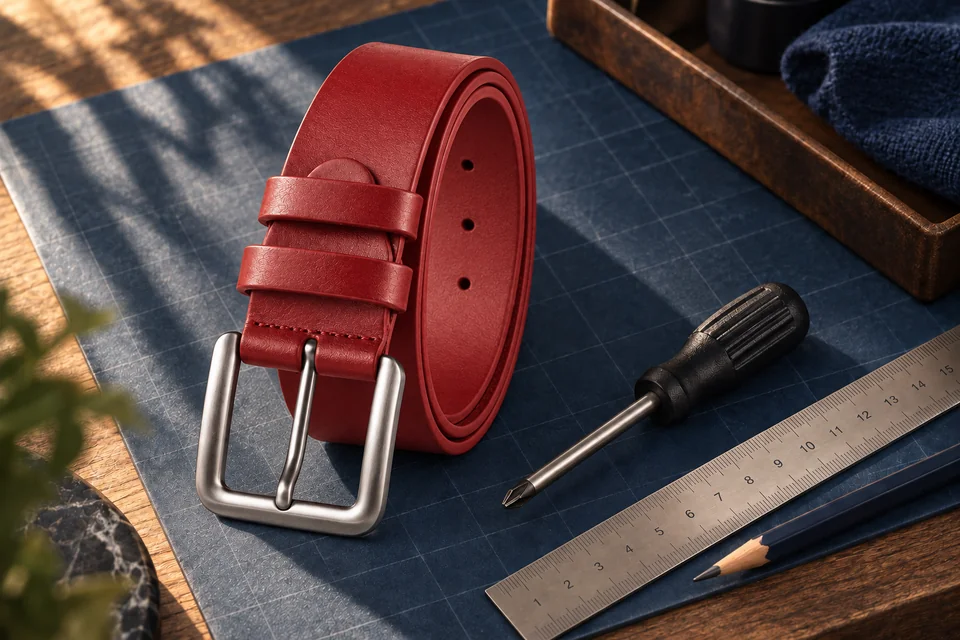
Try the belt on first
Try the belt with the trousers or jeans you plan to wear. Find a comfortable fastening position and free-end length. Establish how much excess to remove; do not calculate the cut from the size label alone. Leave a little extra for another fitting rather than cutting too much at once.
Prepare a ruler, pencil, a suitable screwdriver and sharp scissors that can cut leather. A screw attachment also needs a leather hole punch of the right diameter. Work on a stable surface. Cut only at the buckle end, never the shaped tip, the fastening holes or the working part of a ratchet track.
Screw attachment: 6 steps
Before taking the belt apart, try it on and establish how much to remove. Preparation and tools
Undo the screw
Turn the belt over, match the screwdriver to the screw head and undo it. Detach the fastening from the strap, keeping the screw, its mating part and the keeper.
Measure and mark
From the freed buckle end, measure the amount you decided to remove during the fitting. Mark a straight line across the strap.
Cut off the excess
Cut straight along the mark. Keep the offcut with its original fixing hole: you will use it as a template.
Transfer the hole position
Lay the offcut over the new end, aligning the cut ends and side edges. Mark the centre through the original hole to preserve its distance from the edge.
Make the new hole
On a protective surface, use a suitable leather punch to make a hole matching the original diameter. If you do not have the tool, ask a repair specialist to do this step.
Reassemble the belt
Replace the keeper and attachment, align the holes and tighten the screw without damaging the leather or thread. Check that all parts are back in their original positions.
Clamp attachment: 4 steps
Before taking the belt apart, try it on and establish how much to remove. Preparation and tools
Open the clamp
On the back, find the hinged plate that holds the leather next to the buckle. Gently lift it with a suitable flat screwdriver and remove the strap. This is the attachment, not the mechanism you use to fasten the belt each day.
Measure and mark
Measure from the freed end the amount you established during the fitting. Mark a line across the strap and check your measurement again.
Cut off the excess
Cut straight along the mark at the buckle end. Preserve the finished tip and the full working adjustment area. This attachment does not need a new fixing hole.
Secure the buckle
Insert the strap to its original depth, keeping it straight. Close the clamp plate fully and check that it grips the leather securely.
Check the result
Gently pull the strap at the attachment: it should not slip out or shift noticeably. Check that the screw is tight or the clamp plate is fully closed and that the keeper is back in place.
Try the belt on again. It should fasten easily, sit comfortably at your waist and leave a practical free end. If it is still too long, measure again before making another cut. A shortened strap cannot be lengthened again.
When to ask a repair specialist
If the buckle is sewn in, riveted or cannot be removed as described, these instructions do not apply. Do not force an attachment open. A classic buckle may use either a screw or a clamp: check the connection to the leather, not the front of the buckle.
Ask a repair specialist if you are unsure about measuring, cutting the leather neatly or making the fixing hole. On an automatic belt, preserve the ratchet track. Stop if your planned cut would affect it.